
Taking your amateur license test via Zoom requires video and screen sharing. For Apple Mac computers it sometimes requires some security setting changes depending on how your computer is configured in order to allow sharing of your screen.
If you’ve used Zoom before and shared your screen before in someone else’s Zoom call before or you don’t have strict security setting, this may not be necessary. However, to save time when you take a test, I would suggest you go through these basic steps.
If you haven’t used Zoom before, you should install the Zoom app and run a test. Adding Zoom via the Apple App Store is probably your best method. Then you can go to https://zoom.us/test then click on “Join” and it should take you to a page where you can join a test session.
However, it is also possible that you might have a corporate computer and these settings are locked and you may not be able to use your computer for your amateur license test, but fortunately, we haven’t had that issue yet.
If you have a Mac, you may want to have this open in a browser tab for easy reference before logging into Zoom to take your test.

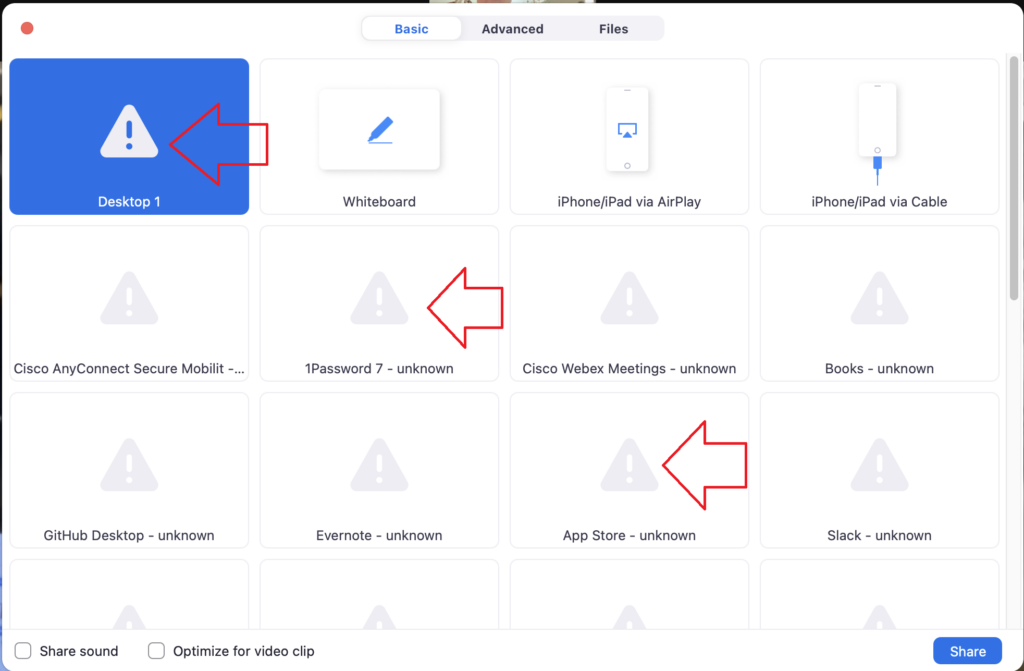
The first indication you need to change your setting is when you click on the SHARE button on our Zoom session you’ll notice your choices of screens to share have a triangular warning icon on it like this
Selecting Desktop 1 and clicking SHARE will pop up this window.
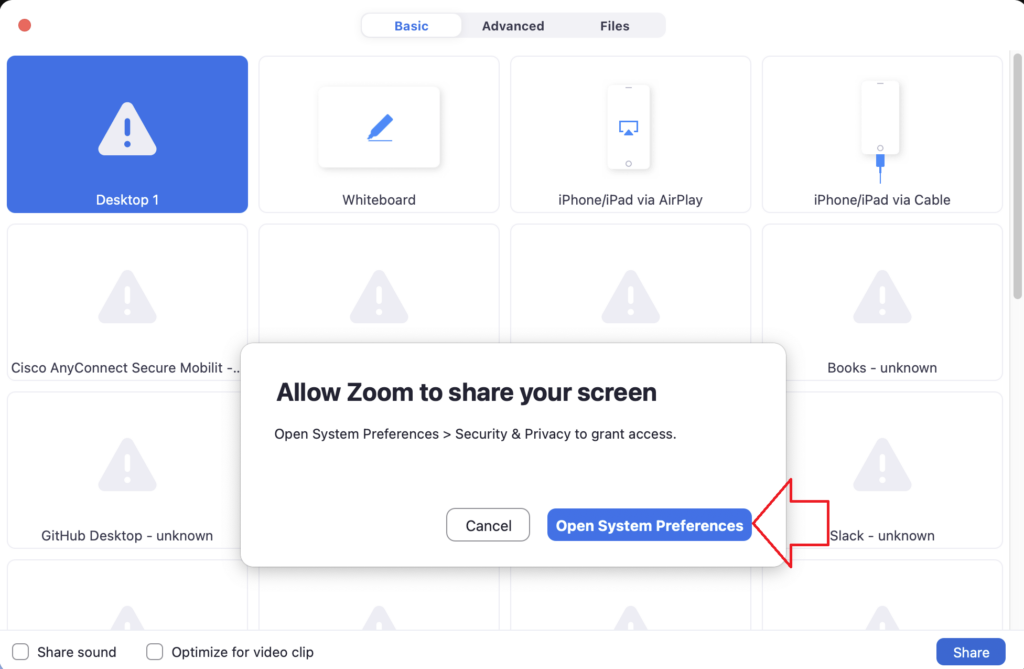
Open System Preferences will open the Security and Privacy and you’ll see zoom.us without a check box next to it.
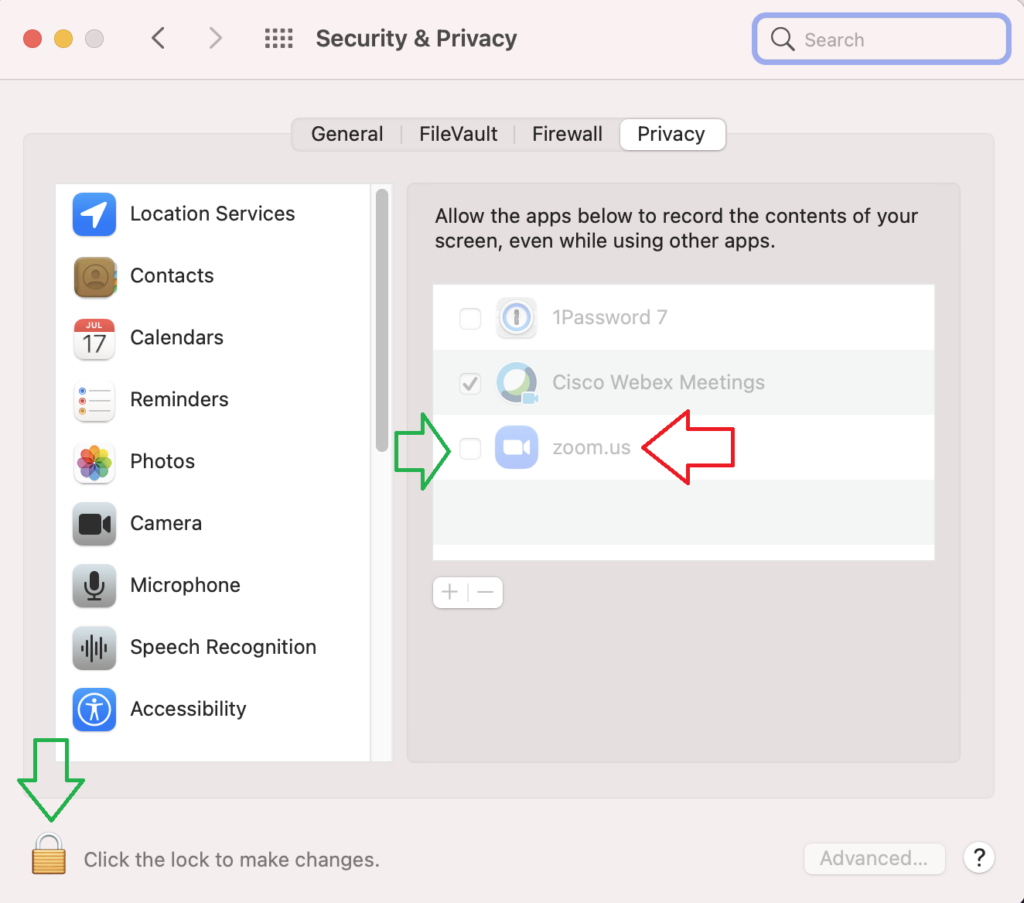
If the lock logo shows locked, you might need to use some method to unlock this panel (password, Apple Watch, fingerprint, etc)
Click the check box once you can.

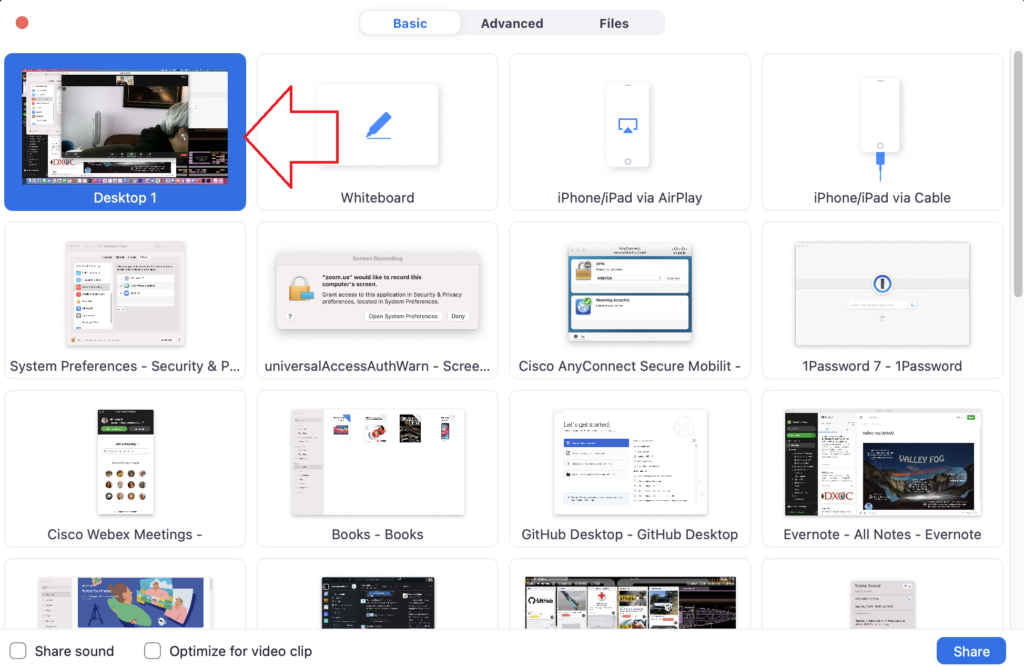
Once you do, you’ll see something like this where your windows now appear without the warning triangle logo
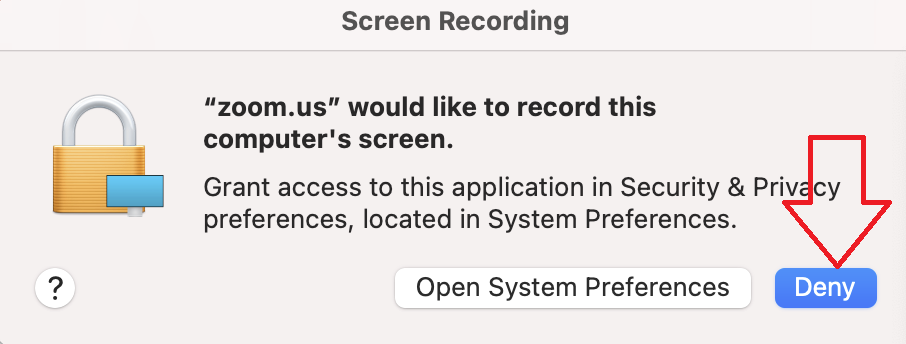
Select Desktop 1 and click on Share may result in this window – clicking on Deny should work OK and you should be able to proceed.
You must be logged in to post a comment.